


SFTP lets you transfer files larger than 100MB to your game server and keep a more stable connection than the browser-based File Manager. FileZilla is the most common free SFTP client and works on Windows, macOS, and Linux. If you’d rather use a Windows-only dual-pane client, see the WinSCP guide.
SFTP Credentials
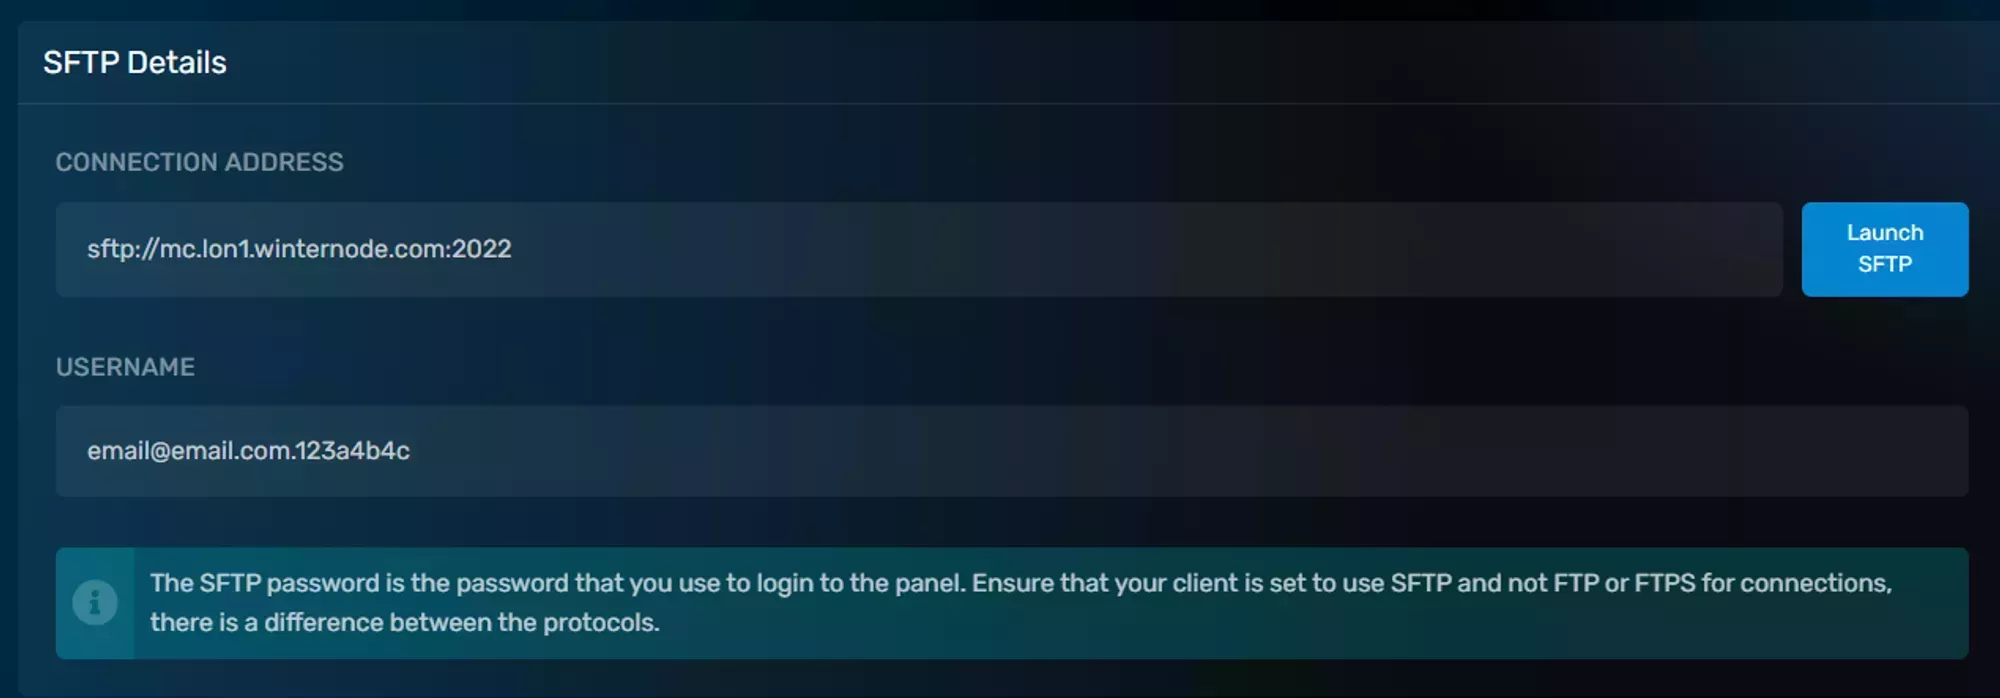
Regardless of the client you use, you’ll need the SFTP credentials provided by the GCP. Each of your servers has a unique set of credentials: the connection address is specific to your server’s node, the username is generated from your email and server UUID, and your password is the same one you use to log into the panel.
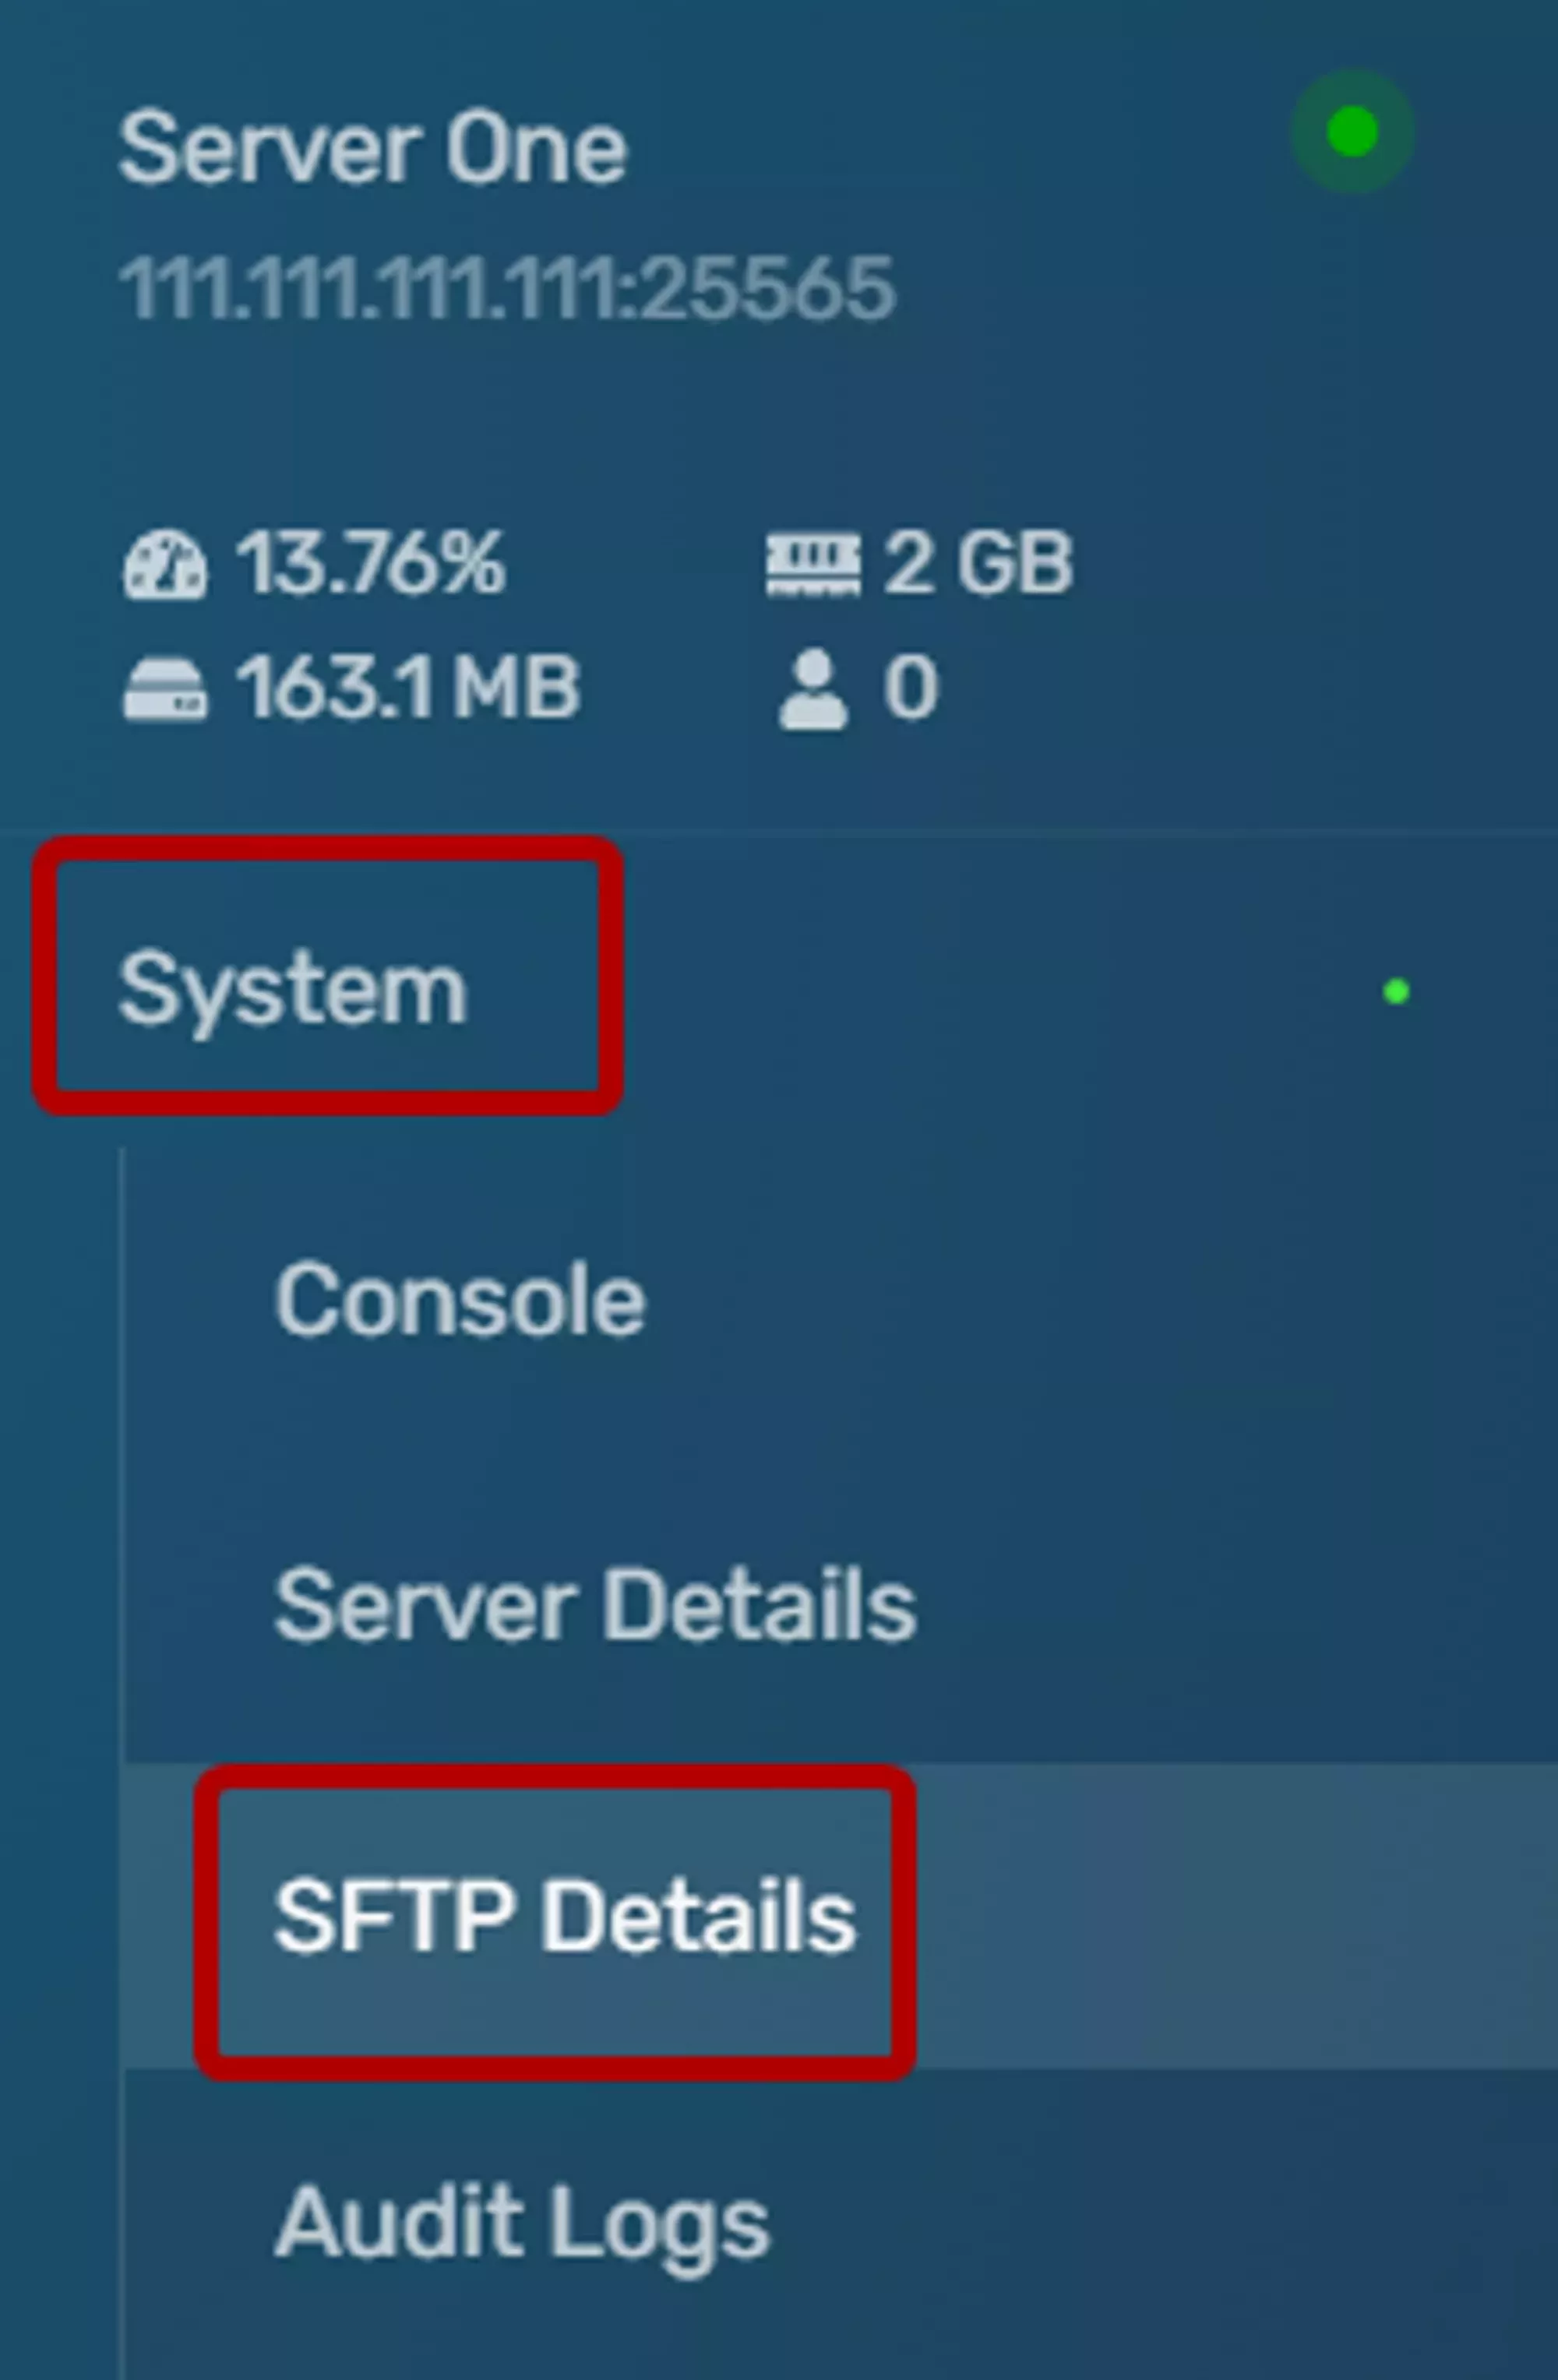
You can find your server’s SFTP credentials under the System → SFTP Details tab.
Downloading FileZilla
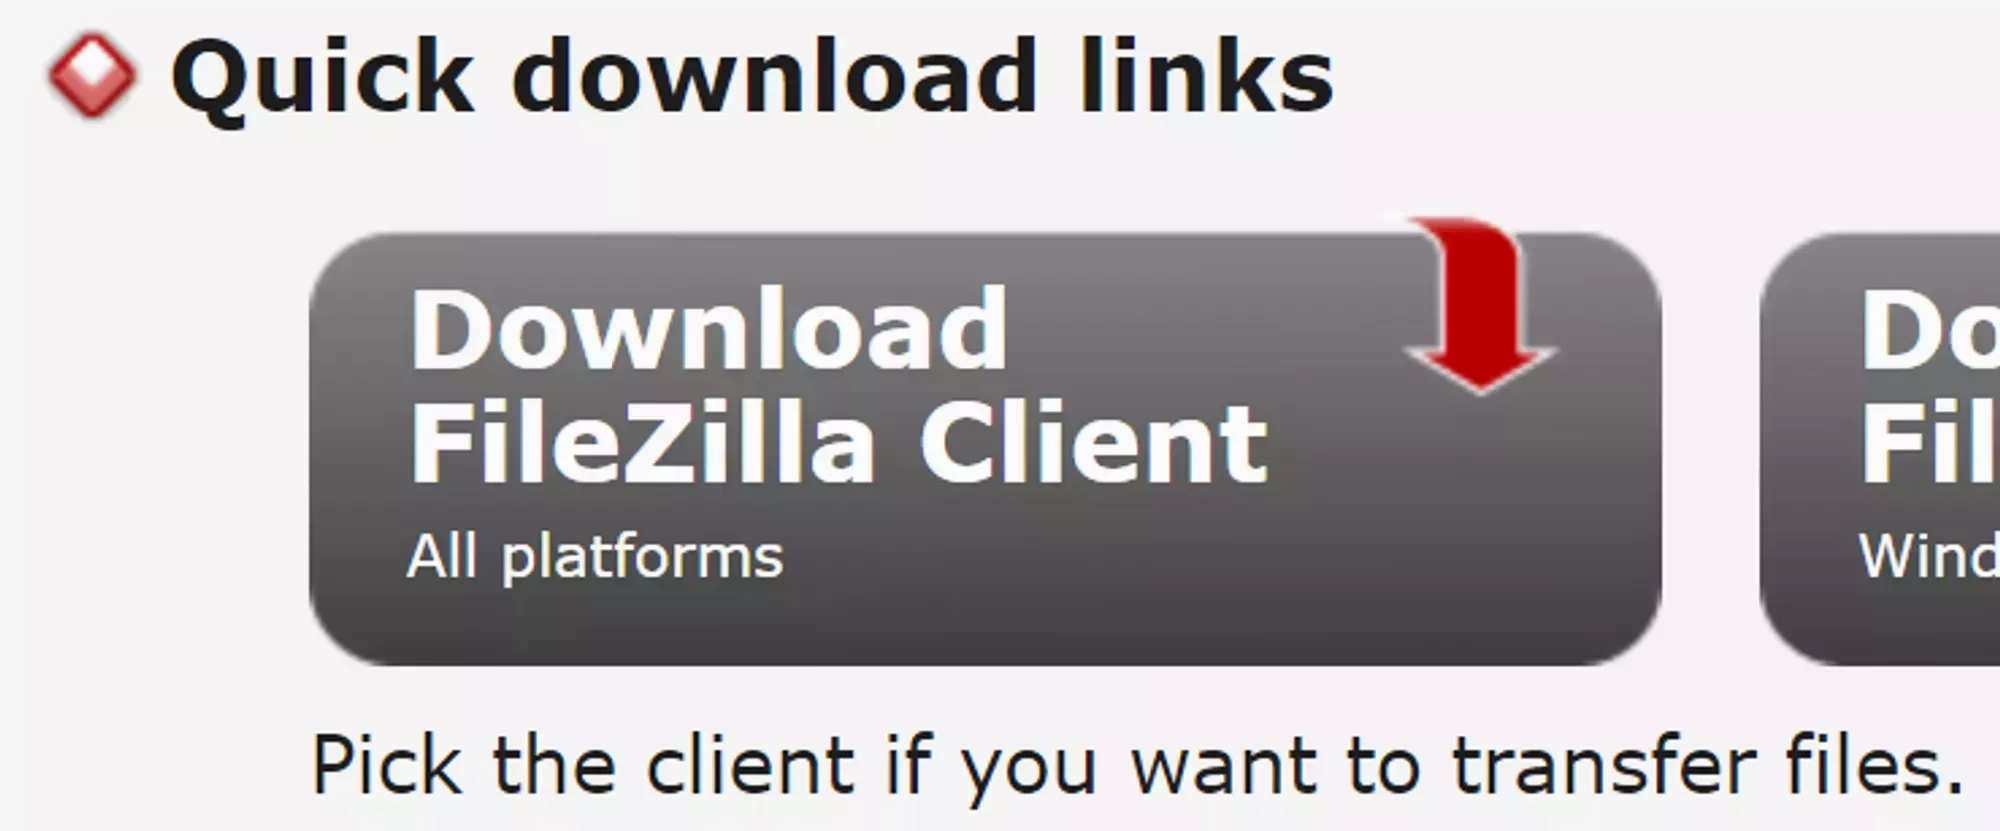
- Go to the FileZilla Project website
- Click Download FileZilla Client
- Run the installer and follow the prompts to finish installing
Connecting to Your Server
FileZilla is a GUI application that lets you browse, upload, and download files on your server through a familiar file-manager interface. The fastest way to connect is the Quickconnect bar at the top of the window.
Use your credentials from the SFTP Credentials section above to fill in the Quickconnect bar:
- Copy the Connection Address field from the panel and paste it into the Host field in FileZilla
- Copy the Username field from the panel and paste it into the Username field in FileZilla
- Enter your GCP password in the Password field
- Click Quickconnect

Uploading and Downloading Files
Once connected, your local files appear on the left and the Remote Site on your server appears on the right. Drag and drop between the two panes to transfer files in either direction.
- Navigate to the folder you want to transfer from on one side
- Navigate to the destination folder on the other side
- Drag the file or folder from one pane to the other
- Watch the progress under the Queued files tab at the bottom of the window
Speeding Up Transfers of Many Small Files
If you really need to transfer a large amount of small files, or your bandwidth isn’t being fully utilised for multiple large files, you can increase the number of files FileZilla transfers at the same time.
Increase concurrent transfers
- Open FileZilla
- Select Edit → Settings from the menu bar
- Select Transfers on the left side of the Settings window
- Under Concurrent transfers, change Maximum simultaneous transfers to a value between 1 and 10
- Click OK
Troubleshooting
FileZilla: Authentication Failed
The Authentication failed error means FileZilla reached your server but was rejected during login. This is almost always a password problem.
- Confirm you are entering your Game Control Panel password. This is the same password you use to log in to the panel website. There is no separate SFTP password
- If you recently changed your panel password, update the stored password in FileZilla
- Check that the Username matches the Username shown under System → SFTP Details in the panel, including the hyphen and numeric suffix
- If you have forgotten your password, reset it from the panel login page
FileZilla: Could Not Connect to Server
The Critical error: Could not connect to server error means FileZilla could not reach the SFTP service at all.
- Wrong connection address. Go to System → SFTP Details in the Game Panel and copy the Connection Address field again. Paste it fresh into the FileZilla Host field rather than typing it manually
- Wrong port. The SFTP port is included in the Connection Address. If FileZilla prompts for a separate Port field, leave it blank so the port from the Host field is used
- Firewall or VPN. Temporarily disable any VPN or third-party firewall software on your computer and try again. Some VPNs block non-standard SFTP ports
- Network issue. If you can reach the Game Panel website but not SFTP, your ISP or local network may be blocking the connection. Try from a different network (such as a mobile hotspot) to confirm
Still Not Working?
If none of the above resolves your issue, contact our support team with:
- The exact error message from FileZilla (screenshot is ideal)
- What you’ve already tried
Frequently Asked Questions
No. WinterNode does not offer SSH access for game servers. Use SFTP to manage your files instead.
Your SFTP password is the same as your Game Control Panel login password. There is no separate SFTP password.
This means FileZilla reached your server but was rejected during login. Make sure you are using your Game Control Panel password. If you recently reset it, update the saved credentials in FileZilla as well.
FileZilla works on Windows, macOS, and Linux. If you are on Windows and prefer a single-window dual-pane view, try WinSCP instead. See the WinSCP guide for setup steps.